
It’s that time of year but then again to deck the halls and whatnot. Good news is that present giving is a year round job! Enjoy this quick and easy tutorial on how to sew your own fabric wrapping paper errrrrr fabric wrapping fabric. LOLLZZZ. Reusable again and again! Obviously, you can make these wraps in any size you’d like. I say start with this general size that will easily wrap 20 yards of fabric. (I wrapped Anna Maria Horner’s Made My Day 1-yard bundle in that bottom wrap.)
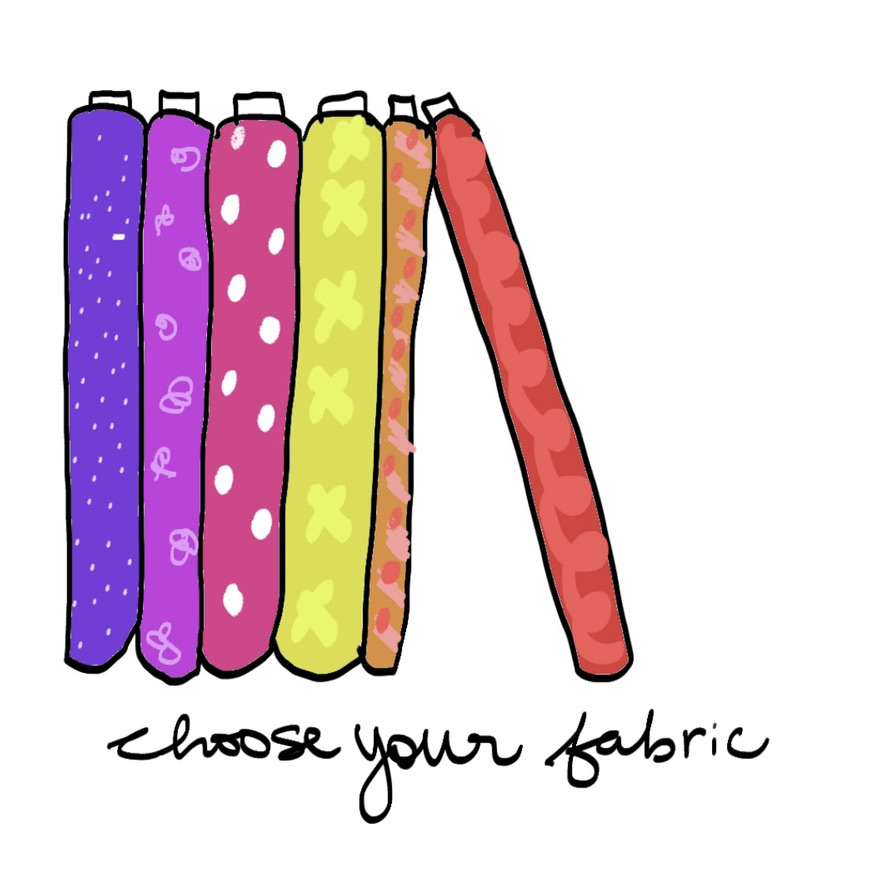
Step 1: Choose your fabric
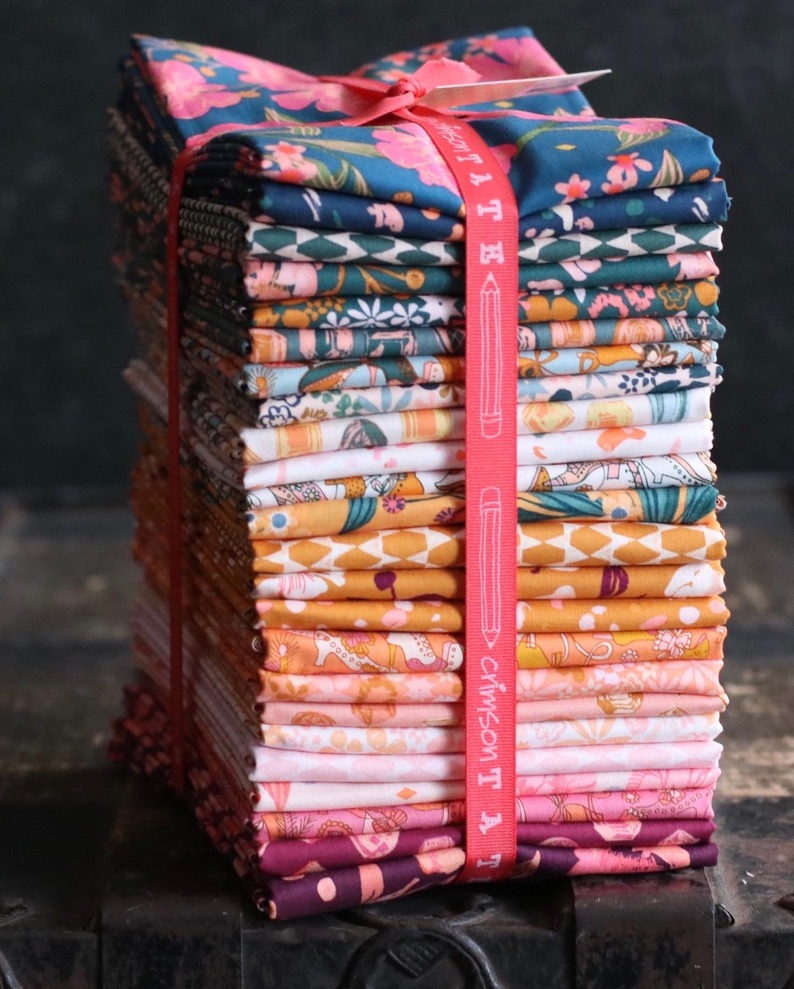
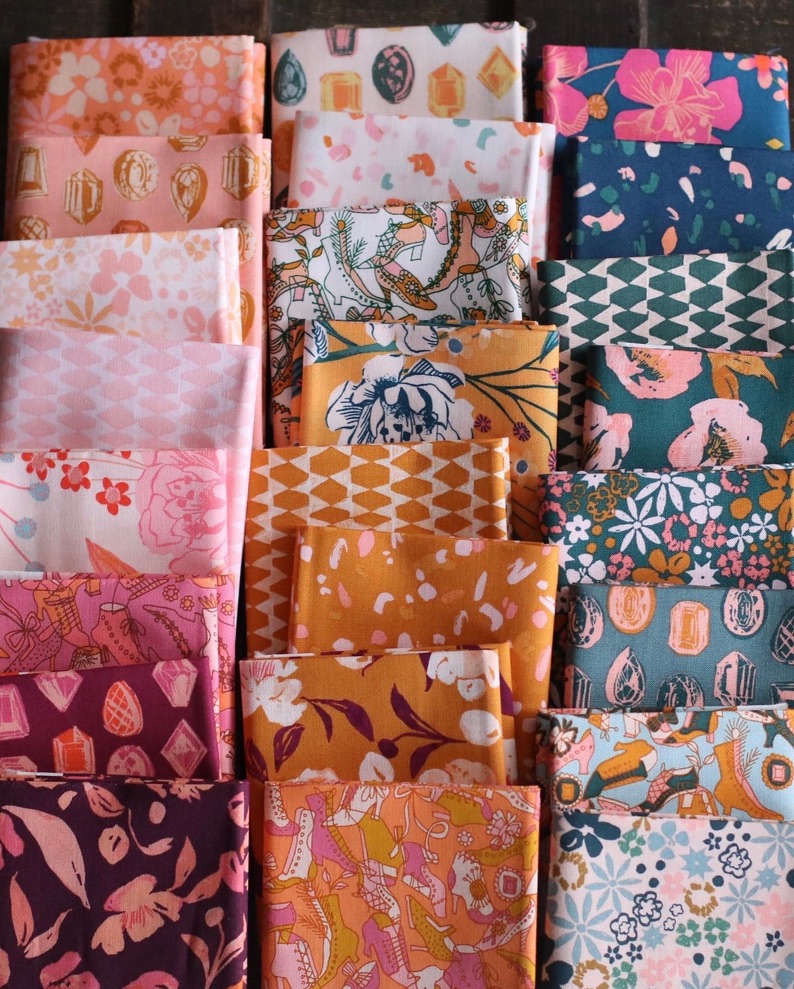
I chose Dylan Mierzwinski or you might know her as Dylan M. She’s a Windham Fabrics designer and this is her latest collection called Fancy. The florals and gems seem perfect for gift giving. Her drawings feel like the type of wallpaper I’d like to have in my home.
Step 2: Cut your fabric
Cut (1) 29″ x 38″
Cut (1) 2″ x 40″
Cut (1) 2″ x 20″

Step 3: Hem that big rectangle

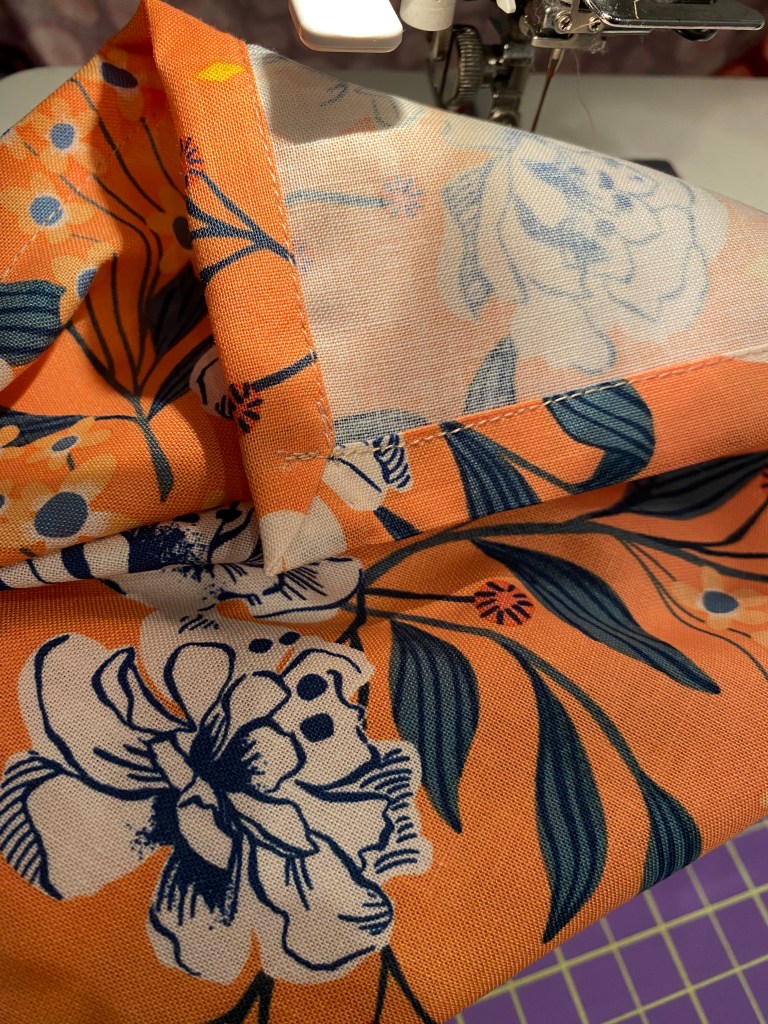
Begin by folding a short edge 1/2″ inch, wrong sides together. Hit it with the iron and then move along to long edge. Repeat on all four sides. To reduce bulk, at this stage I clipped the corners at 450 so that I could miter the corners more easily. You don’t have to get fancy. This is a low stress project. I use oodles of steam when hemming. It just makes it go wayyyyyy faster. Next, fold again 1/2″ making an aggressive press all the way around.


Sew around the the entire folded edge, making sure to pin as you go, pay a little attention the corners. Maybe try to make it neat.
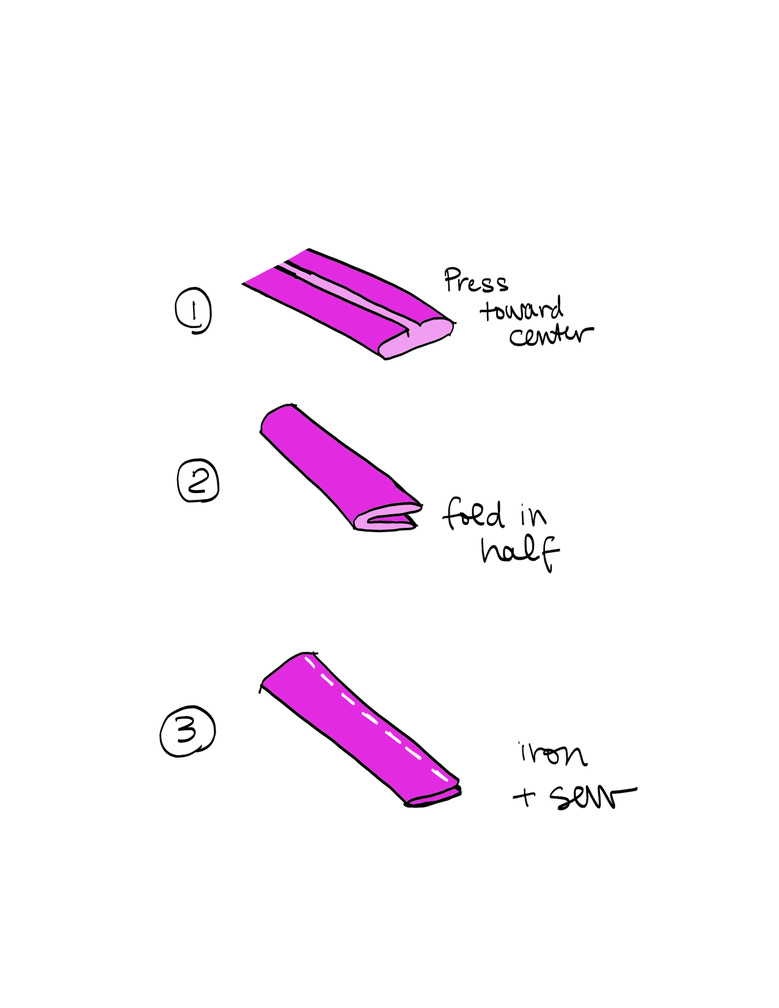
Step 4: Time to make the ties
The illustration below will help understand how to make double fold tape.
- Start by folding the raw edges to the center of the fabric and press the Dickens out of it. Don’t hold back on that steam.
- Next fold the tie in half and hit it with the iron again. The first ties I made I didn’t use a bias tape maker or the old fashioned needle attached to your ironing board method (I’ve made my fair share of plastic bag holders). But if you’re gonna make a lot of these, I would recommend investing in a bias tape maker/folder. It’s relatively inexpensive and you don’t have to cut your fabric on the bias to use it. I used it when I started my third wrap and was super glad that I did.
- After all of your ironing is complete, sew along the open edge.
Once sewn, you’ll need to cut the shorter tie in half, creating (2) ties measuring 1/2″ x 10″. It’s easier to work with a long tie than it is to work with short ones when ironing and sewing. I tried to save my fingers from melting under the iron by cutting it in half after ironing / sewing is done.
Step 5: Attach the short ties to the short sides
Let’s find the center of the short side. I did this by folding my fabric in half and finger pressing where the middle was. I carefully seam ripped a little bigger than 1/2″ of my hem at that spot and inserted the raw edge of my tie. Repeat on the other short edge.
Be sure to PIN it in place and then hit it with the sewing machine, securing the tie under the hem. Here’s a real photograph to make this process a lil’ easier. Be sure to backstitch on both sides.

Now it’s time to flip out! And by flip out I mean flip the ties out and sew them down again. Check out the illustrations. Be sure to super secure the tie by backstitching at the beginning and end.


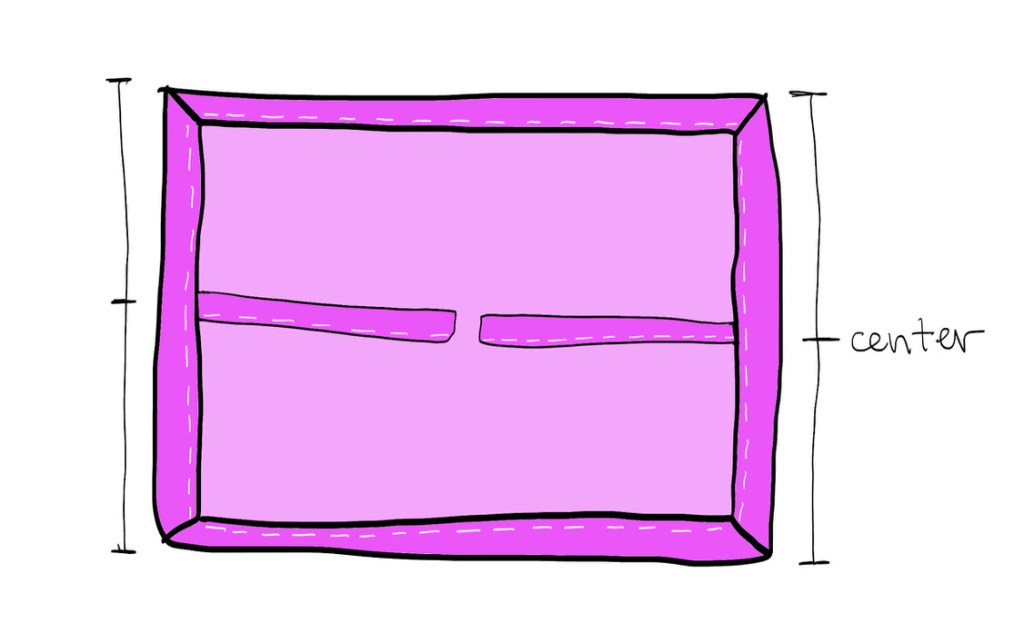
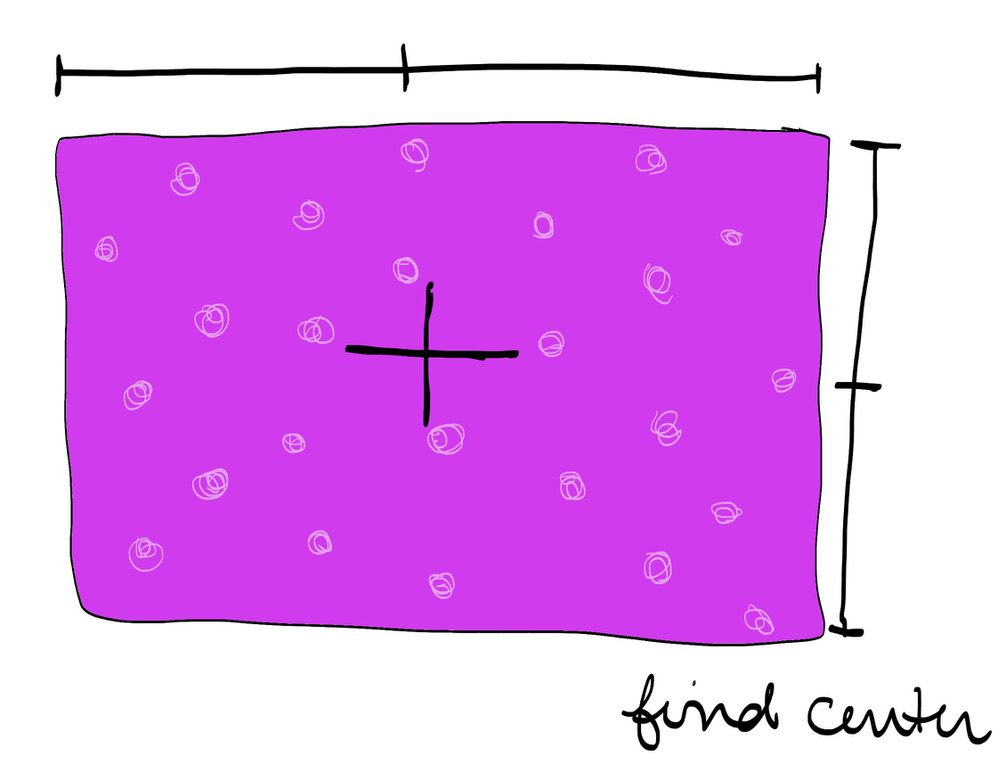
Step 6: Attach the long tie to the center
This whole time we’ve been looking at the back of our project. Now it’s time to flip it over to the right side, the super pretty side. You’ll first need to find the center of your fabric. I did this by folding in half both on the short edge and the long edge.
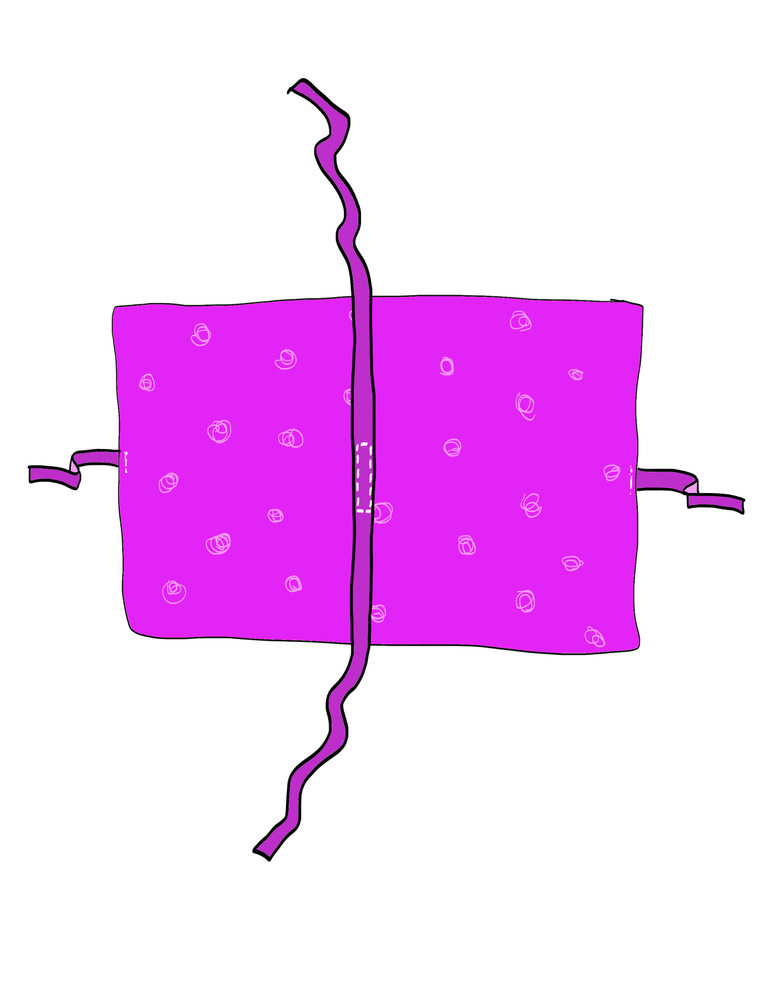
Once you’ve found the center, it’s time to pin the center of the long tie to the center of the hemmed fabric. It’s gonna look a little like this.

Sew 5″ of the tie to the center of the fabric. Again, backstitch. Don’t sew the entire tie top to bottom; only sew a 5″ rectangle in the center of your tie and fabric. Leaving the tie unattached will allow you to wrap various sizes of objects more easily. Here’s a look at how I pinned the tie to the center and marked with pins where I was to begin and end my sewing. Notice the ruler and that I’ve marked only 5″ of the middle and will sew on both sides of the tie.

Step 7: Trim all those loose threads
When I first learned to quilt, my teacher said to me “The difference between an amateur and a professional are the number of loose threads.” So here you have it! Pretty wraps for present giving and you’re professional.
FABRIC – Dylan M. (you need a yard) Any fabric will work, including Echino cotton linens, lawn, etc.
Iron – I used the Oliso Pro. I love love love that iron!
Magic Pins – easy to grip and don’t melt under your iron.
Aurifil Thread – sometimes you might want to match the fabric, sometimes you might see it as an opportunity to do something with higher contrast. I recommend 40wt thread since it’s gonna be seen and it’ll be super pretty.
1″ Bias Tape Maker – again, remember you don’t have to cut bias fabric to use this.
Happy Holidays, friends!
🙂 HEATHER

I love this idea -and thank you for posting the sewing instructions. Now could you pretty please post how you get from the fabric with hem and ties to the wrapped package? I just can’t figure that out! Thanks!