Here’s a photo tutorial on how to create your wishlist at crimsontate.com!! Please don’t hesitate to email us if you have questions on how to accomplish this!
First things first. You’ll need to register for an account at crimsontate.com
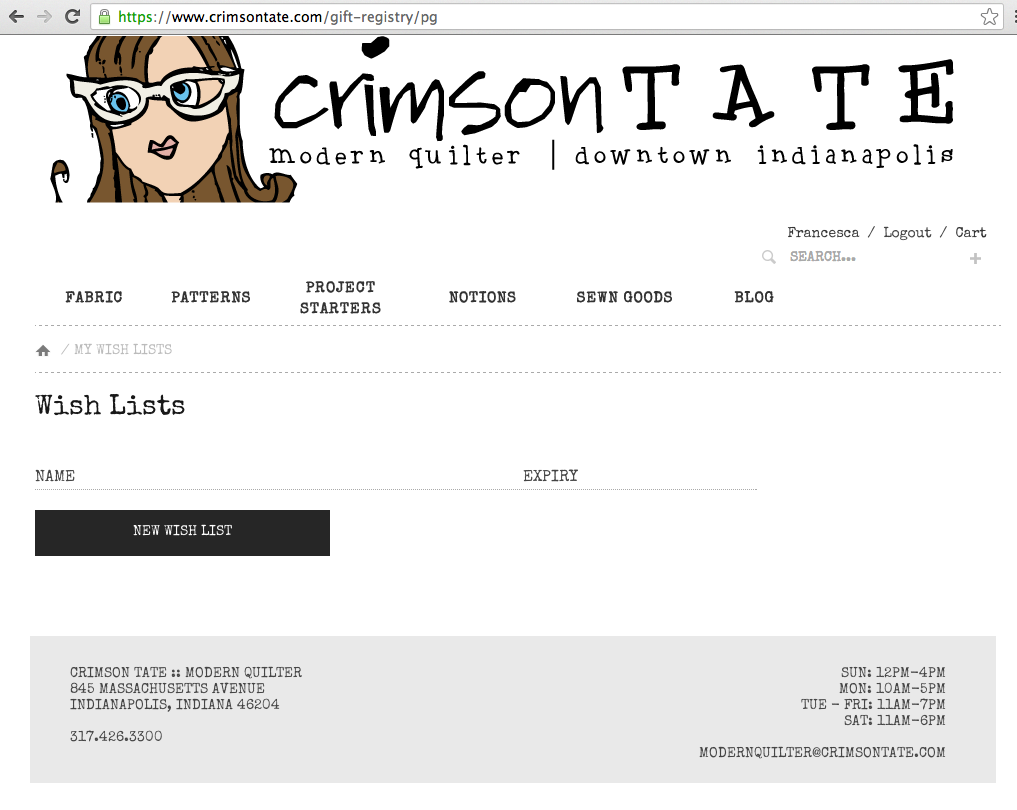
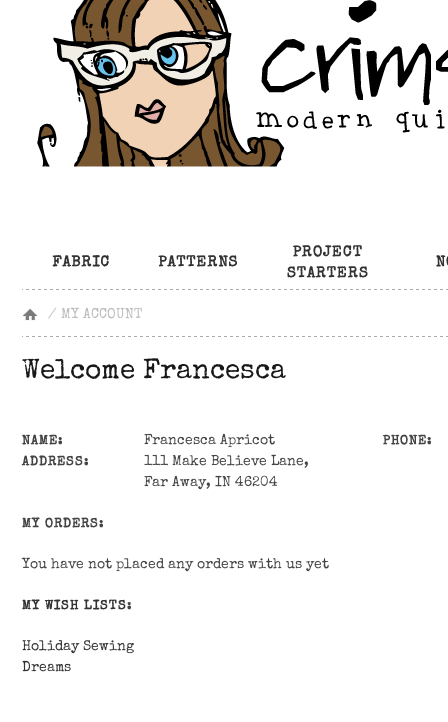
Once you’ve registered, you’ll see that you can create a wishlist. If you’ve already registered, login and head over to MY ACCOUNT.

Click on MY WISH LISTS: (note, it doesn’t change color so it doesn’t necessarily look like a link) This is what you’ll see. Click the black bar that says NEW WISH LIST.
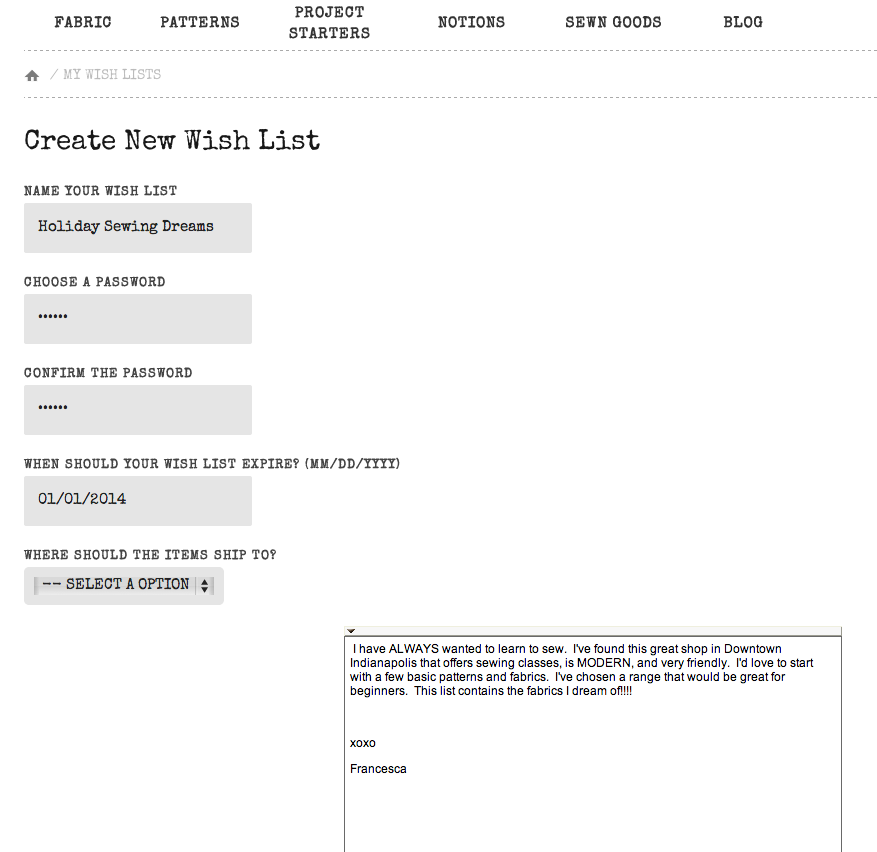
Only you and whomever you choose to share your Wish List with will be able to see what you’ve been dreaming of at crimsontate.com. You’ll create a name and password for the Wish List. If you’d like different people to buy or see what projects you’re working on, create multiple Wish Lists based on projects. For example: Mail Sack Wish List would have all of the components that I want to create a new mail sack bag. Another Wish List might be an array of Harriet Headbands I’ve been dreaming of, so I’ll create a separate Wish List for that. You decide. Should all of your dreams live together in one list? Or do you want to create separate lists based on projects, and quantities?

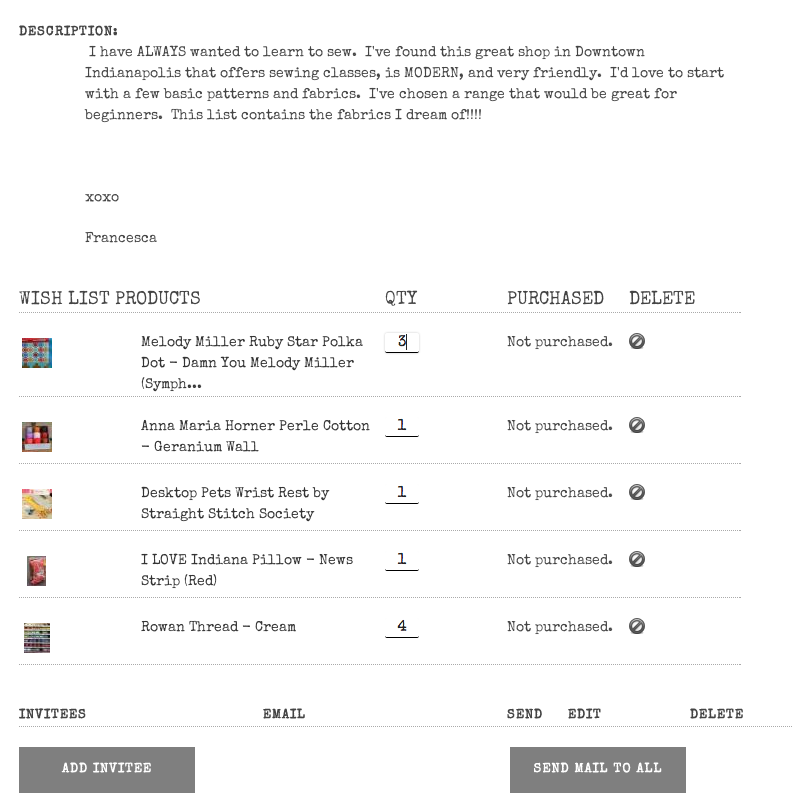
We find that giving a description to your gift-givers will help them understand your obsessions er I mean, desires.
This is what it will look like once you’ve saved your Wish List.

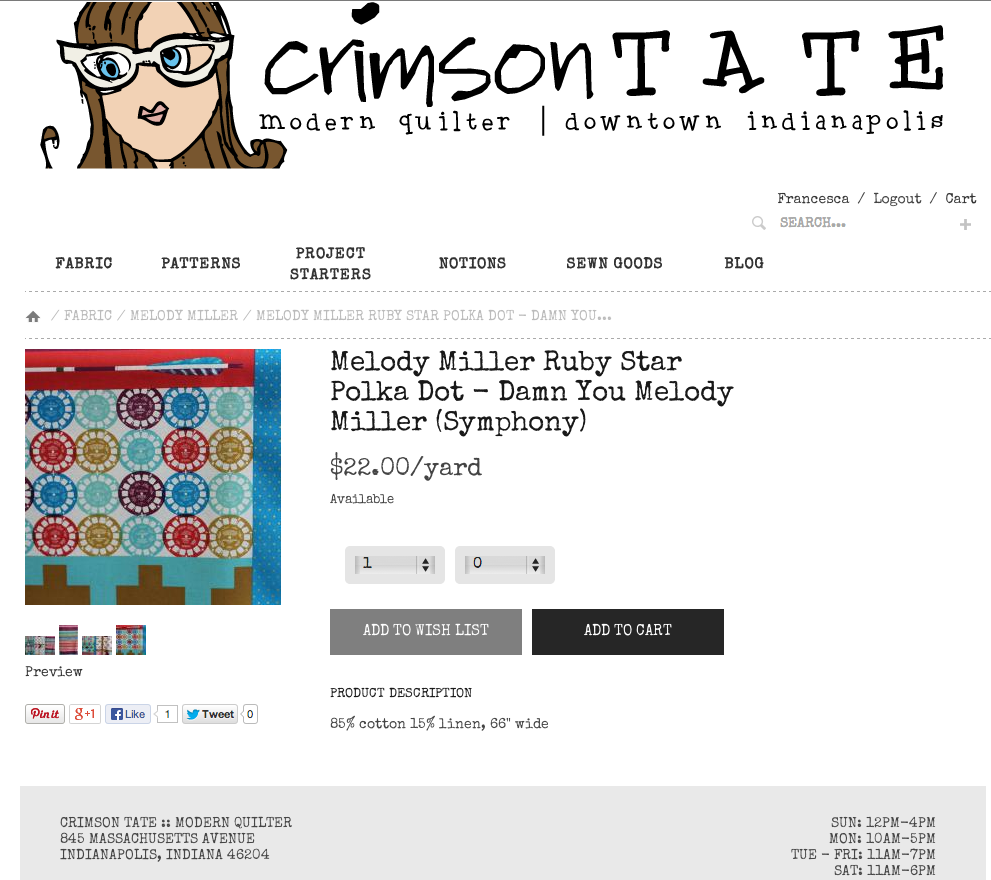
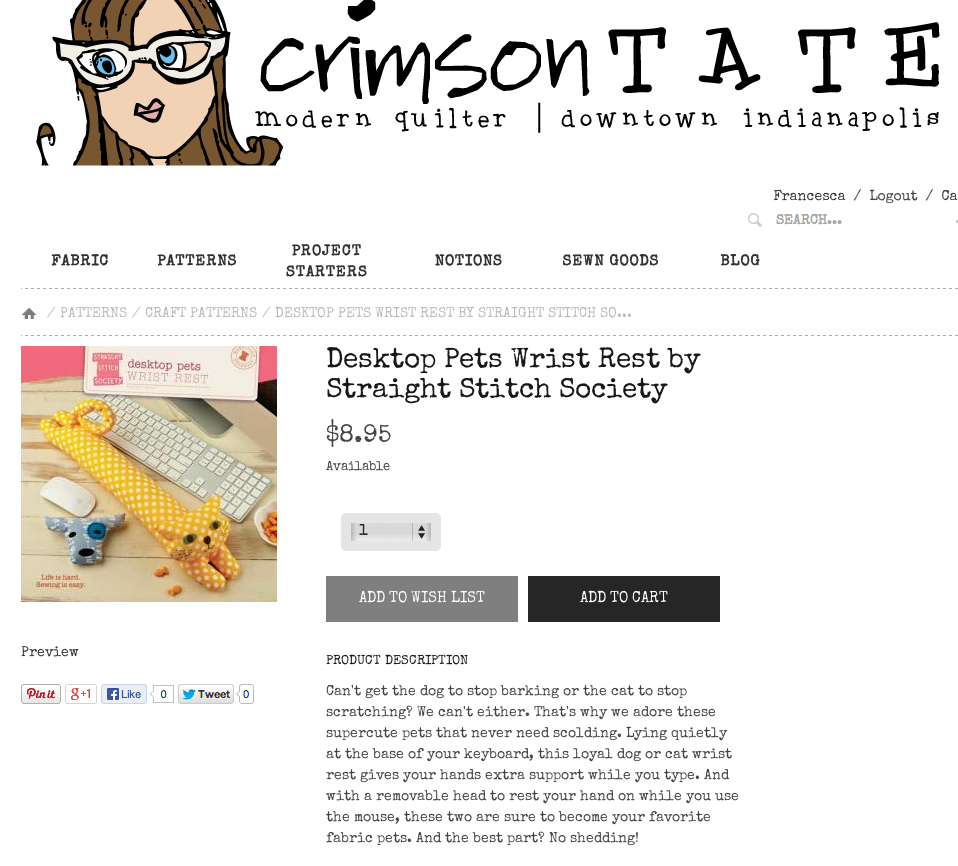
Now it’s time to browse around crimsontate.com and gather all of the items you’re dreaming of. Here we headed to Melody Miller fabric. Select a specific quantity and ADD TO WISH LIST.
Don’t forget about all the other players that go into projects such as thread, patterns, seam rippers. Notions make great gifts.
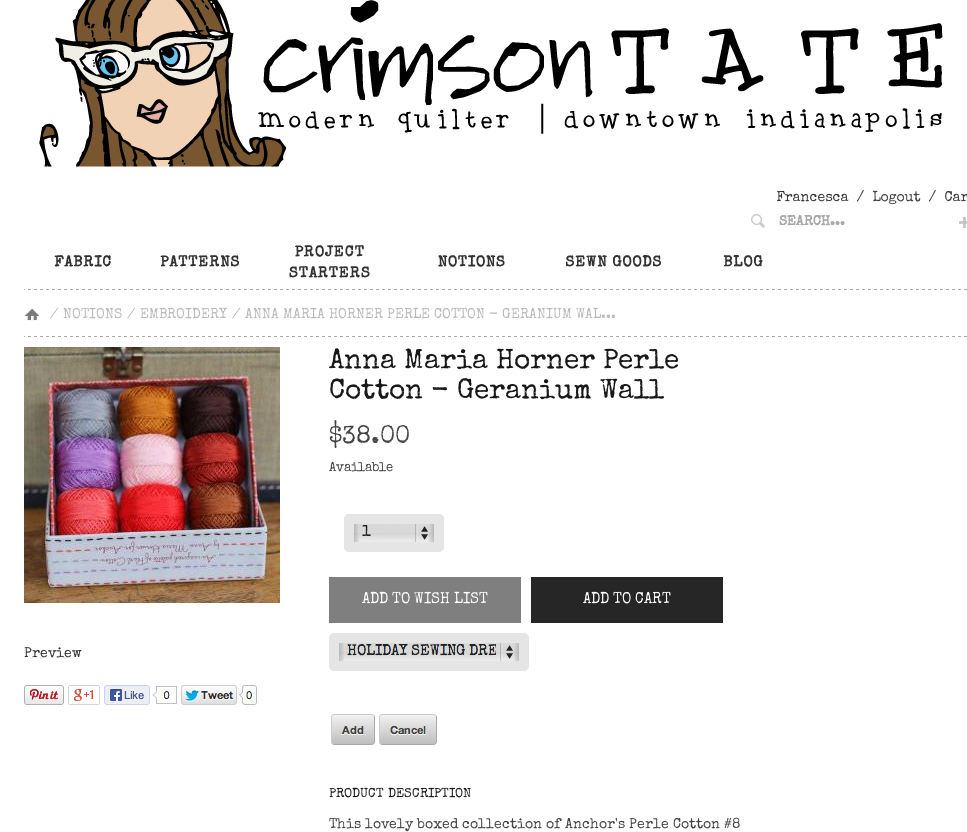
You can select specific quantities that you’ll need.


Once you’ve filled up your Wish List basket, head to MY ACCOUNT and click on MY WISH LISTS and select the specific list you want to send out into the world.
Here you can edit quantities or take away items you’ve decided are for later.
Click ADD INVITEE and start adding names and email addresses of the loves you’d like to share your Wish List with.

Here’s the gang I’m adding to my list. At this point, you can send it to everyone by clicking SEND MAIL TO ALL or you can re-send the email individually by clicking on the teeny tiny envelope.

So. What happens next? I’m curious about what the INVITEE will receive. They will get an email that looks like this.

And when they click on the link, they’ll be taken to a screen at crimsontate.com that asks them for your super special Wish List Password.

When they enter the PASSWORD they’ll then be able to see your list. With your super nice note. They can make their purchases from this screen, clicking BUY NOW button to right of product. They can also decide what quantity they will purchase the item. If you need continuous yardage, you might caution your INVITEES that it would be most helpful for you if they buy fabric to buy all quantity requested.

Once they click on their cart, they can proceed with the checkout and purchase your items there.

Questions? Comments? Concerns?! Email us modernquilter@crimsontate.com and we’ll answer your techy questions or help you decide what projects might be best for your sewing ability. Happy Holidays, friends!!
