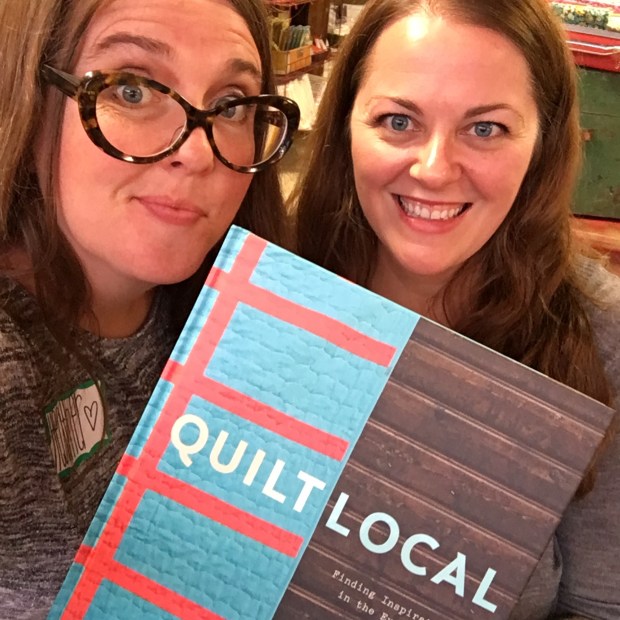
Hooootie hooo! It’s two of your trusty Crimson Tate staff members taking over Ms. Crimson Tate’s blog today!! Hello! Hiya!
Jenny {@coupleofsweets} and David {@crimsontavid} here. Thanks for stopping by!
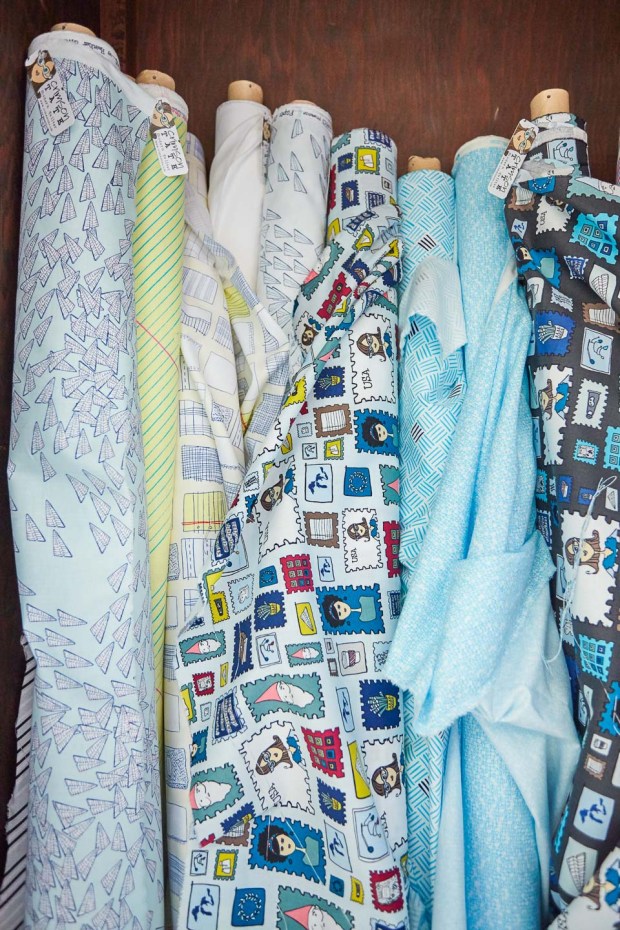
Can we just tell you, when boss lady Heather showed us sneak peeks of this fabric line last fall when it came time for #QuiltMarketPrep, our eyes about popped out of our heads!! How COOL! It’s paper, but it’s fabric! And our hearts about exploded out of our chests with pride that she had done it again… designed a fabric line while keeping all the plates spinning at Crimson Tate. Kudos, Heather Givans! It’s a beaut, Clark! Hasn’t she outdone herself? We thought Succulents was cool, but now all of this papery and lettery goodness to help us create? It’s bananas up in here.
Straight out of the gates, Jenny knew she wanted to sew a dress for her daughter.


Photos by Eric Lubrick
 “I love nothing more than sewing for my kiddos, so when Heather asked me to make something for the Paper Obsessed look book, I knew exactly what I wanted to make. I instantly fell in love with ‘College Ruled’, the print that looks like notebook paper, and thought it would make a fantastic little girl’s party dress. I chose the Oliver + S Garden Party Dress because of its sweet silhouette and shirred bodice that would certainly highlight Paper Obsessed!! Not to mention the opportunity for some fun fussy cutting on the waistband….it was a win-win!”
David went for a small quilted throw pillow that would utilize some of the coordinating Artisan Cotton solids from Windham and one of his favorite prints in the collection, Stamp Collection in AM Delivery.

“Both colorways are awesome, and if you know me you know that I love all things BLUE – but I wanted to make this dude as colorful as possible. Artisan Cottons are shot cottons that are woven with two different thread colors, the warp and weft. The threads of Windham’s Artisan Cottons are slightly heftier than other shot cottons I’ve sewn with, making them super easy to cut and sew, and just perfect for a home dec project.”
If you’ve been waiting for the steps David took to create this duder, then today is a happy day! The Postage Stamp Pillow tutorial and photo of the finished product are found below.
But first, let’s talk WINNING FABRIC. So you want some Paper Obsessed goodness of your own, eh? Windham Fabrics gives away free fabric along every stop of the blog-a-palooza and we are throwing in some extra I Heart Crimson Tate swag just for funzies. To enter the contest at our stop, leave a comment describing your favorite color and your favorite print of Heather’s (Paper Obsessed or Succulents). Our winner will be chosen randomly on July 27, and of course, be sure to visit all of our friends’ blogs for a chance to win!
July 12 Windham Fabrics :: http://windhamfabrics.wordpress.com
July 13 Heather Givans of Crimson Tate :: https://blog.crimsontate.com/
July 14 Sarah Sharp of {no} hats quilts :: http://www.nohatsinthehouse.com/
July 15 Janine Vangool of UPPERCASE Magazine :: http://uppercasemagazine.com/blog/
July 16 Karen LePage of Gentle Clothing :: http://onegirlcircus.com/
July 17 Jenny Leisure / David Barnhouse of Crimson Tate :: https://blog.crimsontate.com/ {Hootie hoo!}
July 18 Heather Jones of Heather Jones Studio :: http://www.heatherjonesstudio.com/blog
July 19 Eric Lubrick of Eric Lubrick Photography :: http://oartooar.com/
July 20 Annie Unrein of By Annie’s :: http://byanniecom.blogspot.com/
July 21 Amanda Castor of Material Girl Quilts :: https://materialgirlquilts.com/
July 22 Sara Lawson of Sew Sweetness :: http://sewsweetness.com/blog
July 23 Giuseppe Ribaudo of Giucy Giuce :: http://www.instagram.com/giucy_giuce
July 24 Karen McTavish of Karen McTavish Quilting Studio :: https://blog.crimsontate.com/
July 25 Kristen Wright of Two Blondes and a Sewing Machine :: https://twoblondesandasewingmachine.wordpress.com
July 26 Heather Givans of Crimson Tate :: https://blog.crimsontate.com/
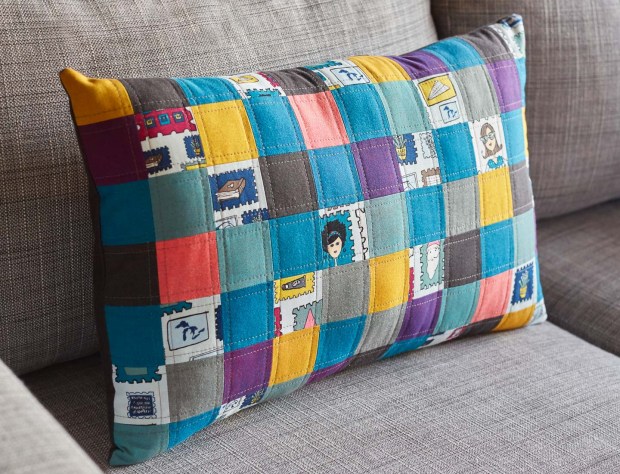
Photo by Eric Lubrick
Postage Stamp Pillow
featuring Paper Obsessed by Heather Givans & Artisan Cotton Solids
Designed by David Barnhouse
Size: 14” x 22”
Fabric Requirements
½ yard of 40171-2 Black/Grey (Backing)
¼ yard or fat quarter of 41682-2 AM Delivery
1/8 yard or fat eighth of each of the following:
40171-1 Charcoal/White
40171-13 Red/White
40171-29 Yellow/Copper
40171-31 Turquoise/Copper
40171-35 Aqua/Blue
40171-37 Red/Royal
Other Supplies
1 yard lightweight fusible interfacing
Coordinating thread for piecing and quilting
16” x 24” piece of cotton batting
Rotary cutter
Ruler
Cutting mat
Straight pins
Basting pins
Cutting
From the back fabric, cut (2) rectangles that measure 14-½” x 15-½”
From all fabrics, cut varying numbers of 2-½” squares for a total of (77) squares
Tip: From fabric 41682-2, fussy cut to feature your favorite stamps!
Designing the Pillow Top
Shortcut alert! The following steps will save you oodles of time.
On the ironing board, lay piece of interfacing glue side up. Lay squares out right sides up, taking care to leave the same amount of space between each square (about 1/8”). Make 7 horizontal rows with 11 squares each. Be certain the squares are not overlapping or touching.

Using the pick-and-pluck method, fuse the squares in place, taking care to not run over large areas of exposed interfacing. You may want to dig out your handy dandy pressing cloth.
Sewing
Fold first row of squares over the second row (right sides together) and sew with a ¼” seam. Continue in this manner for each horizontal row, being sure to flip the previous rows out as to not catch them in your next seam.
On the wrong side of the pillow top, trim a scant 1/8” from your seam allowance as to remove the folded interfacing from all six seams.
Iron seams open. In this instance, pressing the seam open is strongly advised – the interfacing adds bulk. Tip: Finger press your seams open before you go for the iron. Easy-peasy!
Rinse and repeat! This time, sew the vertical columns together. Again, use a ¼” seam allowance, sew slowly, and try to keep the seams you just pressed open, well… open!
Now hem the back pieces. Along the short edge of one piece, fold fabric over ¼” and press. Fold over again 1-½” and press. Top stitch 1/8″ from the inner fold. Repeat for the second piece of back fabric.
Finishing
 Pin baste the pillow top to a piece of batting and quilt as desired.
Line up both back pieces (hemmed edges overlapping at the center) and the quilted pillow top, right sides together. Sew all four sides with a ¼” seam allowance and finish raw edge with a zig-zag stitch.
Option: It is possible to finish with a French seam (start by sewing wrong sides together), but be aware that this will shrink your outermost quilt squares incrementally.
Stuff with pillow form and bam! Your very own Postage Stamp Pillow! Spruce it up with some Amy Butler Honey Bun Poufs and make it a beautiful trio! Now get to sewing!

Photo by Eric Lubrick


 Crimson Tate is offering our space as a drop off for your individual blocks. We want to put all of those beautiful blocks together and quilt them. Will you join us? Have you made a few blocks but feeling like you’re not going to get to the finish with an entire quilt? Not a member of a MQG but feel compelled to help? Do you feel as if there’s power in putting your blocks with the blocks of your community? We’d love to help put those squares together and create big old quilts of love. Here’s how it’s going to work: